Payments
Setup
- Open the Platforms & Products page from Project Settings menu and add all the information about the Platforms where the game is available. It's required to validate the purchases.
- Open the Products tab of Platforms & Products page and fill in all the information about your game's products. In most cases, you need the main table. However, if you have a different product ID, Name, or Price for other platforms, you can use the override section for each of the platforms.
Products are global
You have single global list of products, like in Apple Store or Google Play. Each environment uses the same list.
Make changes with care
Make changes with care, because it could affect your current players.
Products versioning
If you add/delete products on the products page, users will see these changes even without deploy.
Make changes with care
Be specifically care when you delete products.
Platforms
On this page you can setup target platforms for your project and configure settings for in-app validation and analytics.
Auth limitation
By default, user can bind multiple accounts for any authorization type (e.g. by Firebase token, nickname). You can limit it, so user will be able to bind only one account of each type.
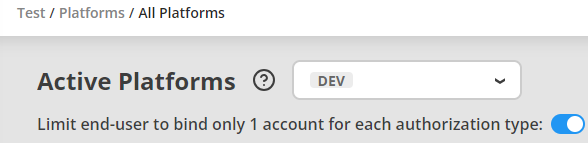
If user tries to bind another account of the same type, server will return error with status code 409 and message binding_exists.
To enable this limitation, you need to turn on toggle.
This setting is bound into environment
Keep in mind, this toggle is bound into environment. You need to change it for each environment separately.
Adding platforms
For some platforms you just need to add them by pressing Add button. For others you need to provide additional information (e.g. keys for Nutaku). If you want to use in-app validation, you need to provide additional information for each platform.
Also for some platforms you need to install additional module:
Module
Balancy purchasing module is available on OpenUPM.
openupm co.balancy.unity-purchasing
- Open Unity Package Manager (Window ► Package Manager).
- Click the "+" button.
- Select "Add package from git URL".
- Enter:
https://github.com/balancy-liveops/plugin_cpp_unity_purchasing.git
When you create Store Item in Balancy you can choose hard currency here and pick one of the products. Later in plugin we will use its product id to get all the needed information from the stores.
Where to find needed data for validation for specific platforms?
Google Play
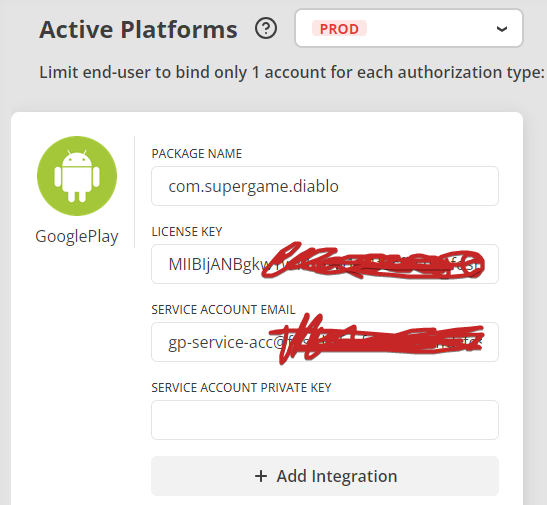
For Android, we need a License key.
- Open Play Console and select the app you want to find the license key for.
- Go to the Monetization setup page (Monetize ► Monetization setup).
- Your license key is under «Licensing».
- To properly check if the test account made the payment, you need to give us access to service account.
- Create a service account.
- Link it to the google play dev account.
- In the dev console, on /api-access page go to the permissions.
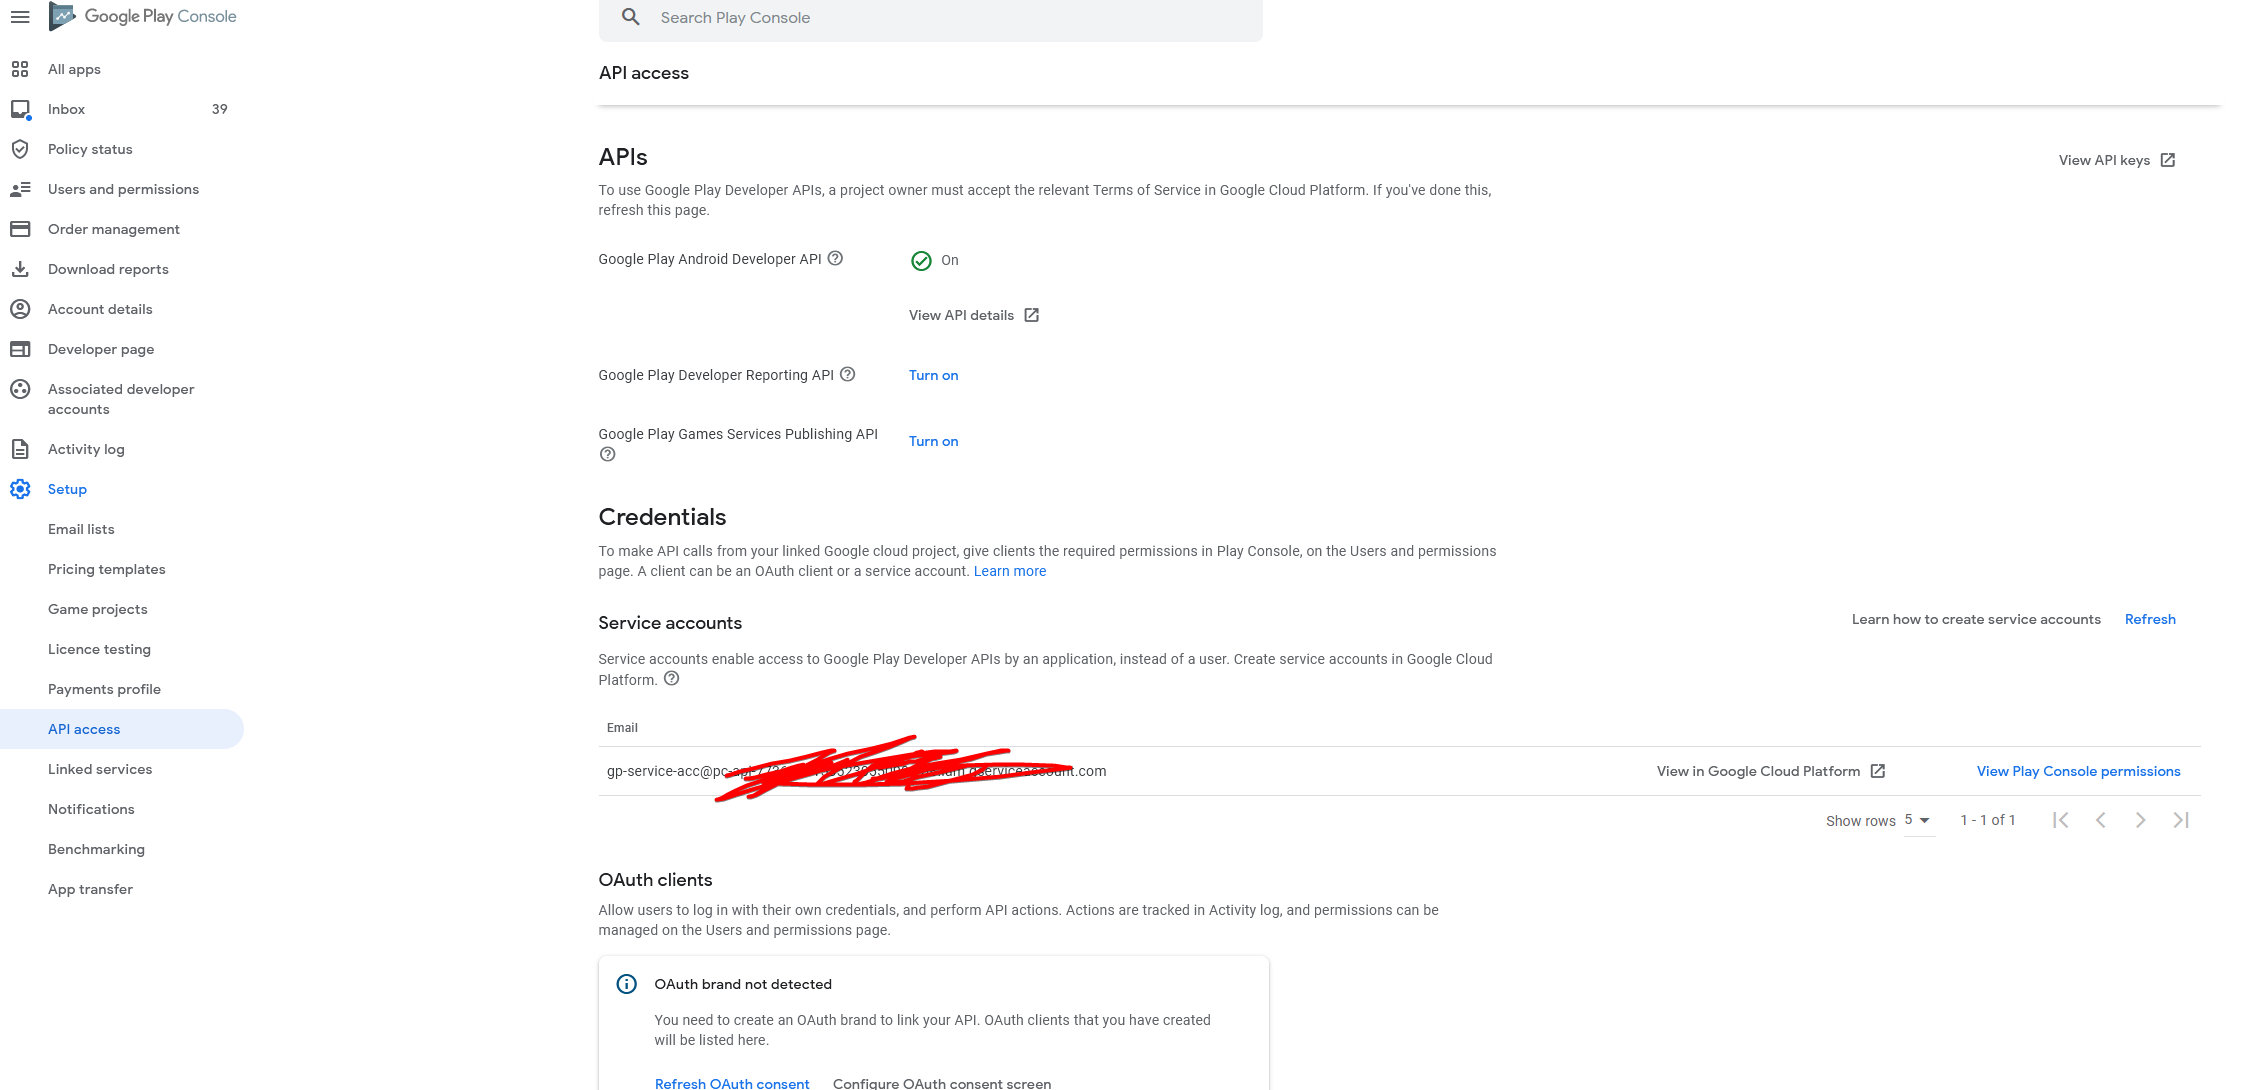
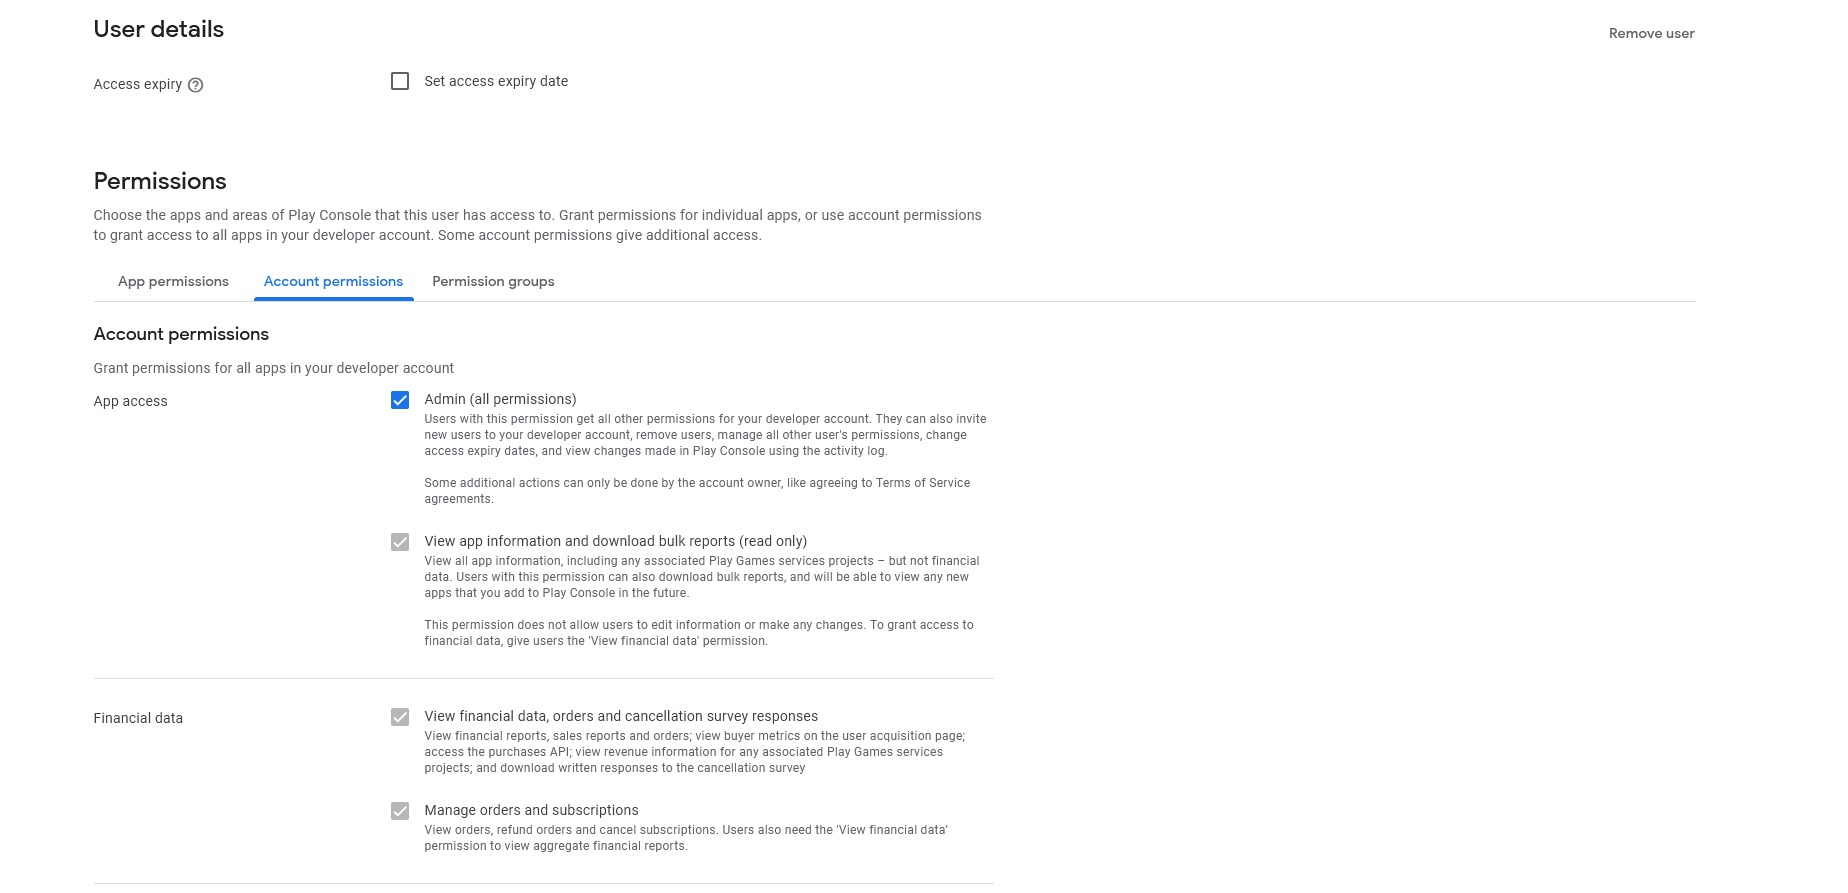
- Give it needed permissions.
- Add service account email and private key to Balancy.
Problems with service account
If you have set up everything and validation still doesn't work, the problem is probably with the service account settings. This answer could help you.
iOS
For validating iOS payments, we need generated shared secret.
Amazon
- During Balancy initialization pass platform
Balancy.Main.Init(new AppConfig { ApiGameId = YOUR_GAME_ID, PublicKey = YOUR_PUBLIC_KEY, Environment = Constants.Environment.Development, BalancyPlatform = Constants.BalancyPlatform.AmazonStore, OnProgressUpdateCallback = ((fileName, progress) => { Debug.Log($"Balancy launch progress {(progress*100):2}% : {fileName}"); }), }); - Add platform on the Balancy platforms page and set amazon shared key.
Amazon settings
You can read Amazon's documentation about IAP, also check Unity's documentation.
Basic Usage
To get all available products user asynchronous method GetProducts:
Balancy.API.GetProducts(data =>
{
    if (data.Success)
    {
        foreach (var product in data.Products)
        {
            Debug.Log("product: " + product.Name + " => " + product.ProductId);
        }
    }
});
To get specific product you can use:
Balancy.API.GetProduct("gold.pack.1", (item) =>
{
    if (item != null)
    {
        Debug.Log("product: " + item.Name + " => " + item.ProductId);
    }
});
LiveOps Purchases
More details in additional SDK doc.