Connect Your Own AI (MCP)
Balancy speaks MCP (Model Context Protocol). That means you can plug your favourite AI coding assistant — Claude Code, Codex, Cursor, Claude Desktop — straight into your game and let it work with your live game data, the same way you do in the Admin Panel.
Just ask it in plain language:
- "Create a weekend offer for $4.99 that gives 1000 gems."
- "Set up an A/B test for this store item's price."
- "What's the average price across my store?"
…and it does the work for you.
Early access
MCP is brand new. Please read Safety & recommendations before you start. The short version: experiment on a separate branch, never on production.
How this differs from Nia
Nia, the built-in assistant, lives inside Balancy. MCP is the opposite direction: it lets your own external AI assistant reach into Balancy. Both share the same underlying capabilities and safety model.
What it can do
Create anything you can create by hand — and the complex stuff too:
- Documents & entities — items, store items, offers, offer groups, game events, configs, custom templates.
- A/B tests — full tests with variants, overrides and control groups wired up correctly (normally fiddly to build by hand).
- Prices & products — set up real-money (hard-currency) products and virtual prices, and match them to the right store items.
- Localization — create and update localized strings across all your languages.
- Nested / linked structures — it builds whole chains in one go (event → offer → store item → item), so you don't have to link everything manually.
Modify and manage what already exists:
- Read, update and delete existing documents.
- Rework existing offers, events, prices and conditions.
Build UI with the UI Builder:
- Lay out windows and screens.
- Create prefabs.
- Write scripts when a screen needs custom behaviour.
Understand your project:
- Answer questions about how your game is set up.
- Run calculations on your data — average price, highest price, and other economy / balance numbers you care about.
Tip
You don't need to learn any commands or field names — you describe what you want in plain language, and the assistant figures out the rest.
How it works (and why it's safe)
Your external assistant never writes to Balancy's servers directly. Every change is routed through your own Balancy frontend running in your browser:
Your AI assistant  ──►  Balancy MCP endpoint  ──►  your browser (Balancy open)  ──►  Balancy
   (Claude / Codex)         (over the internet)          (the "bridge")
This design is deliberate — it exists for safety:
- Nothing is written blindly on the server side.
- Changes flow through the app you already have open, so you can see every change before it's saved and stay in control.
- Your browser session is the bridge — if it's not open, nothing can be changed.
Your browser must stay open
Because everything routes through it, your Balancy frontend has to be open and running in a browser the whole time you use the assistant. That open window is what makes the bridge work.
Safety and recommendations
MCP is just launching, so treat it as experimental for now:
- Do not point it at your production branch. Create a separate branch and run your experiments there. Once you're happy with the result, promote the changes the usual way (see Using Branches).
- Over time — after we and our clients have validated the workflows and everyone is comfortable with how to use it safely — working closer to production becomes reasonable. Until then, don't.
- A good rule of thumb in general: nobody should edit production directly, not even a person. Human error is always possible — and an AI assistant is just another agent making changes on your behalf, so the same caution applies (arguably more).
Setup
Step 1 — Generate an API token
- Open the API Keys page in Balancy.
- Click Create API Key, give it a name (e.g. "My Claude Code"), and create it.
- Copy the key now — it's shown only once. The token is tied to your account.
Step 2 — Connect your AI client
On the API Keys page you'll find your personal connection URL (the MCP endpoint)
already filled in, plus ready-to-copy snippets. Copy the exact URL shown there and paste
your token where it says YOUR_API_KEY.
Note
The MCP endpoint is https://balancy-ai.balancy.cloud/mcp/sse. You'll also find this
exact URL ready to copy on your API Keys page.
Run this in your project folder:
claude mcp add --transport sse balancy \
  https://balancy-ai.balancy.cloud/mcp/sse \
  --header "Authorization: Bearer YOUR_API_KEY"
Or add it to .mcp.json in your project root:
{
  "mcpServers": {
    "balancy": {
      "type": "sse",
      "url": "https://balancy-ai.balancy.cloud/mcp/sse",
      "headers": { "Authorization": "Bearer YOUR_API_KEY" }
    }
  }
}
Then restart Claude Code (or run /mcp to check the connection) and approve the
balancy server when prompted.
Codex reaches the endpoint through the mcp-remote bridge (needs Node.js installed).
Add this block to ~/.codex/config.toml:
[mcp_servers.balancy]
command = "npx"
args = ["-y", "mcp-remote", "https://balancy-ai.balancy.cloud/mcp/sse", "--header", "Authorization: Bearer YOUR_API_KEY"]
Save, restart Codex, then run /mcp in the Codex TUI to confirm balancy is
connected.
Add this to your claude_desktop_config.json:
{
  "mcpServers": {
    "balancy": {
      "command": "npx",
      "args": [
        "-y",
        "mcp-remote",
        "https://balancy-ai.balancy.cloud/mcp/sse",
        "--transport",
        "sse-only",
        "--header",
        "Authorization:${AUTH_HEADER}"
      ],
      "env": {
        "AUTH_HEADER": "Bearer YOUR_API_KEY"
      }
    }
  }
}
- Node.js is required (for npx; the mcp-remote bridge is fetched automatically on first run).
- The key is set via
env.AUTH_HEADERand referenced in--headerasAuthorization:${AUTH_HEADER}. This is a required workaround for Claude Desktop dropping the space in header values. Do not write--header "Authorization: Bearer YOUR_API_KEY"directly —Bearermay get lost. --transport sse-onlymakes the bridge connect straight over SSE (the/mcp/sseendpoint) instead of stumbling on an HTTP attempt that returns404.- After editing the config, fully restart Claude Desktop (Cmd+Q).
Add this to .cursor/mcp.json:
{
  "mcpServers": {
    "balancy": {
      "url": "https://balancy-ai.balancy.cloud/mcp/sse",
      "headers": { "Authorization": "Bearer YOUR_API_KEY" }
    }
  }
}
Step 3 — Open Balancy in your browser and connect the bridge
Because all changes flow through your browser, you need Balancy open and the bridge connected.
- Launch your game / app / project in the browser.
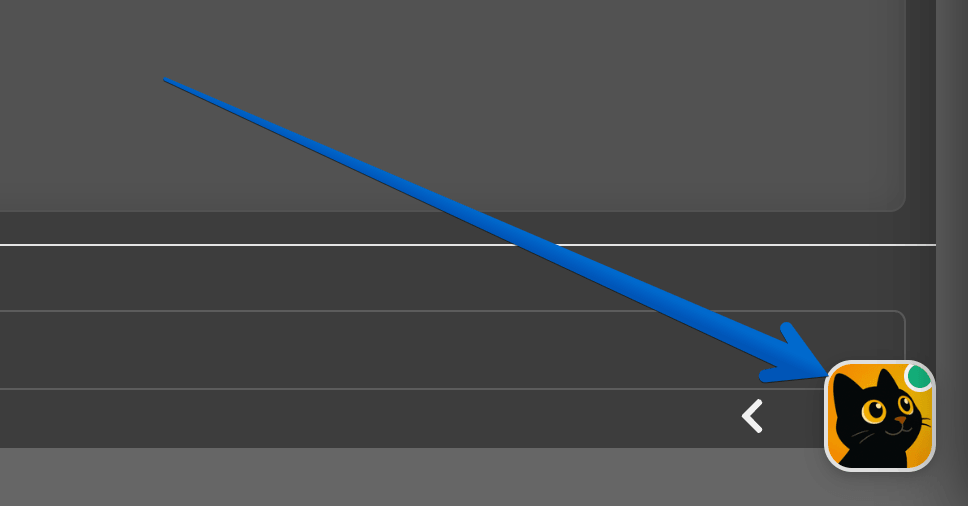
- Click the assistant icon in the bottom-right corner.
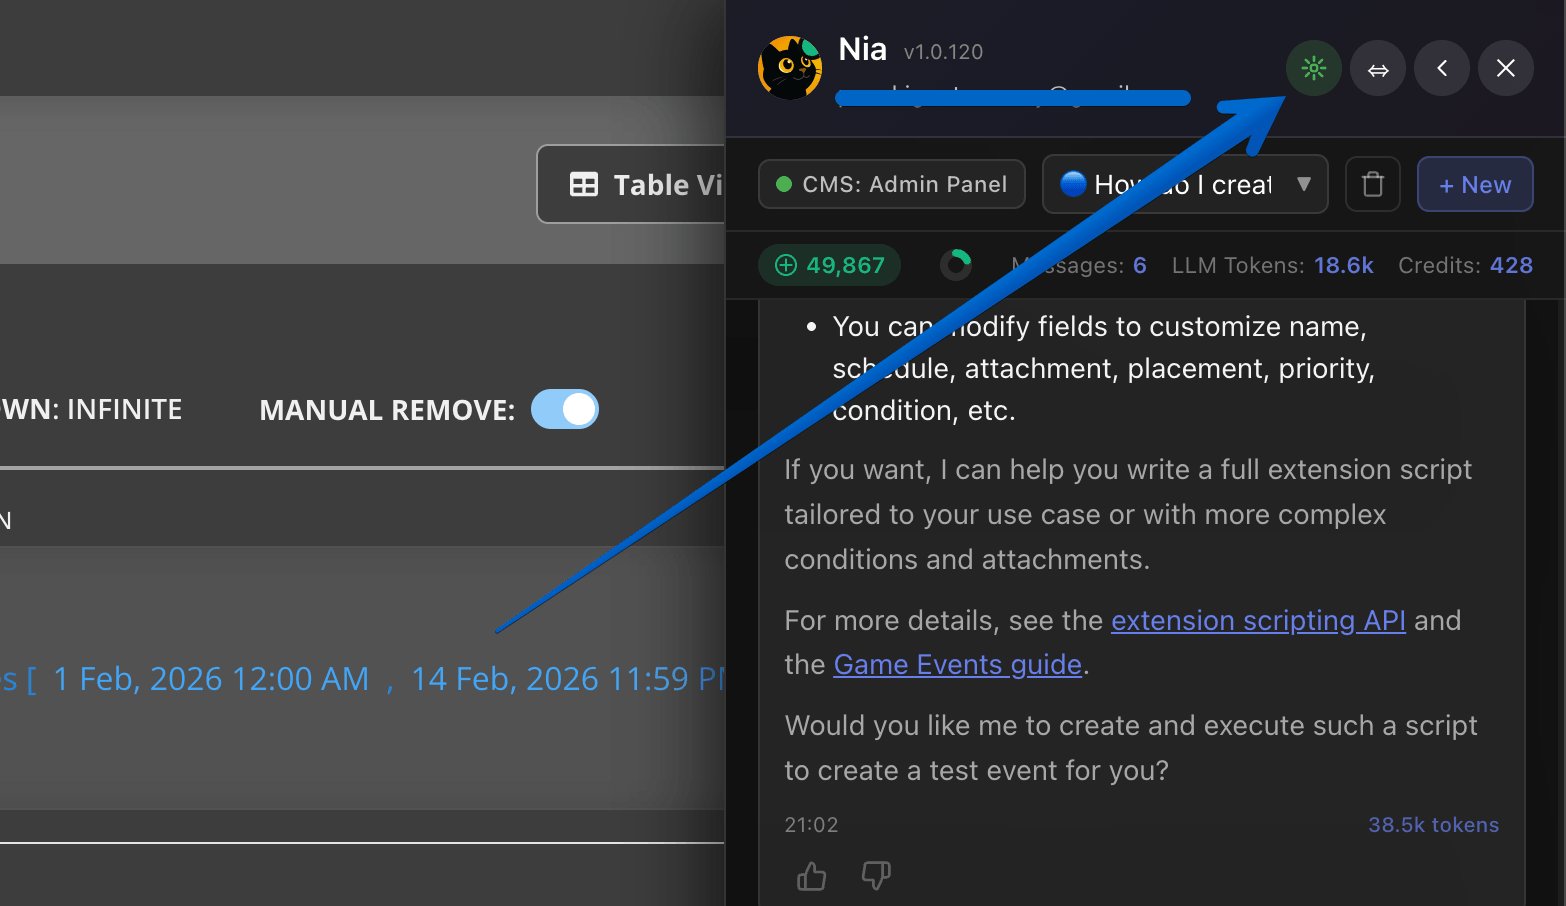
- The chat panel opens. From here you can open the full step-by-step instructions (the same token + client setup covered above).
- Open the External AI Bridge and click Connect to External AI.
That's it — your external assistant (Claude Code / Codex / …) is now connected to this browser window and can start making changes that you can review live.
One window at a time (Connect / Disconnect)
Only one browser tab can hold the bridge at a time — this prevents multiple windows from fighting over the same session.
The dot on the assistant icon tells you the state:
| Indicator | Meaning |
|---|---|
| 🟢 Green dot | This window is connected — it holds the bridge. |
| 🟡 Amber / pulsing dot | Connecting… |
| ⚪ Grey / no dot | Not connected (or another tab took over). |
Controls in the External AI Bridge panel:
- Connect to External AI — connects this window and makes it the active bridge. If another tab was connected, this one takes over and the old tab switches to "Replaced by another tab."
- Disconnect — releases the bridge from this window.
Tip
If a change isn't landing, check that this window shows the green dot. If it doesn't, click Connect to External AI here to take over the bridge.
Troubleshooting
| Symptom | What to check |
|---|---|
| Assistant says "no browser connected" | Open Balancy in your browser and click Connect to External AI. |
| Changes aren't being applied | Make sure this tab shows the green dot; if not, click Connect here to take over. |
/mcp doesn't show balancy |
Re-check the URL and Authorization: Bearer … token, then restart your client. |
| Two tabs keep swapping the connection | Keep just one Balancy tab open for the bridge. |
FAQ
Can I use it on my live game? Not yet — please don't. Use a separate branch until MCP is out of early access.
Does my browser need to stay open? Yes. The open Balancy window is the bridge; if you close it, the assistant can't make changes.
Is my token shared? No. Tokens are tied to your account and shown only once — store it somewhere safe.